In a previous post, we made mention of the 17,683 photographs that comprise the Pictorial Library of Bible Lands (PLBL). That is a lot of photographs! And it is a lot of places! To help the user find what they are looking for and to navigate the library, we added some brand-new features such as maps (here and here) and a Site Index, in addition to the already-helpful Image Index, the organization of the library into volumes/regions, and the descriptive filenames for every single photograph.
In this post, we would like to draw attention to a free program named Picasa, by Google. I have found this to be one of the most helpful tools for digging into the hidden corners of the Pictorial Library. Picasa works on both Windows and Mac computers.
Once you download and install Picasa, you can specify what folders you want Picasa to scan (or index). The index database is sort of like an address book—it does not make a duplicate copy of the images, rather it tells Picasa where to go look to find the images. NOTE: Picasa will work best if you have copied the Pictorial Library to your hard drive.
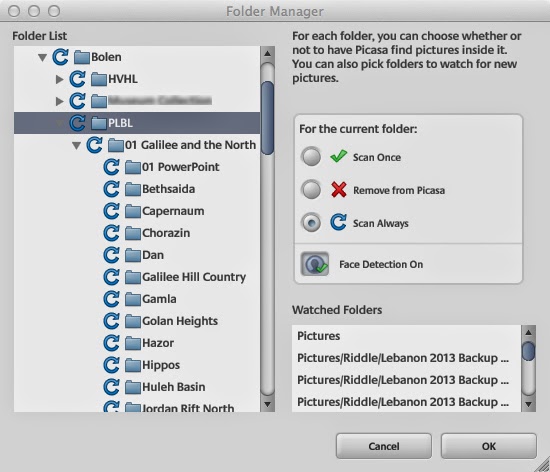
Under the File menu, select “Add Folder to Picasa…” Here you can specify which folders you want Picasa to see (i.e. scan or index) and which ones you want Picasa to ignore. The window looks like this:
Once you have selected the folders you want Picasa to scan, it will begin to index the files. This could take quite some time since the Pictorial Library has lots of images, but Picasa has only to do it once.
In the lower right corner of your screen, a slide-out window like this will appear to notify you that Picasa is indexing the images:
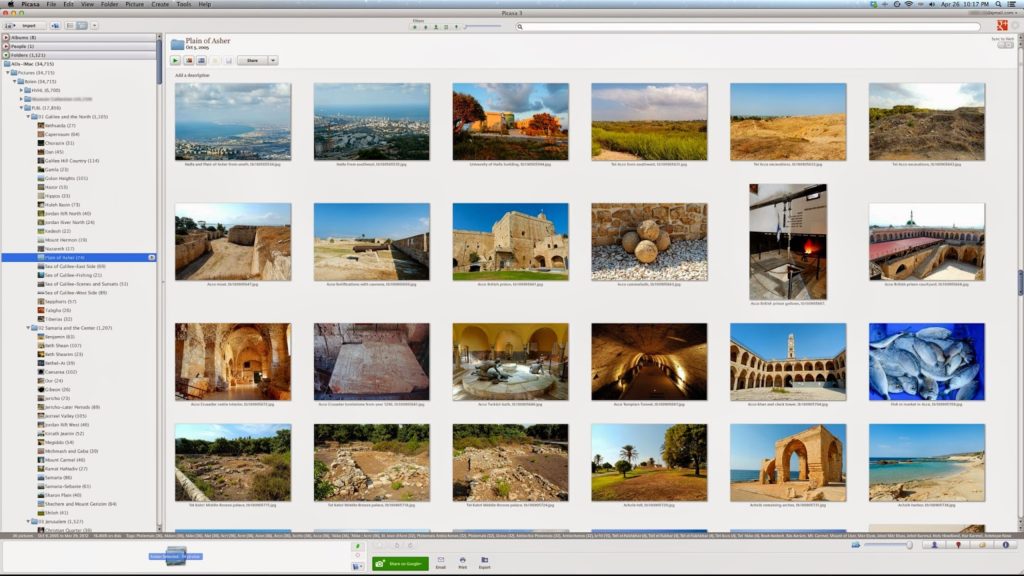
At this stage, we can point out the first two benefits of using the Pictorial Library of Bible Lands with Picasa. First, you can quickly browse thumbnails of all the photographs in the entire Pictorial Library. Images will catch your eye that you may not have ever noticed before, or you may find yourself discovering whole portions of the library that were unknown.
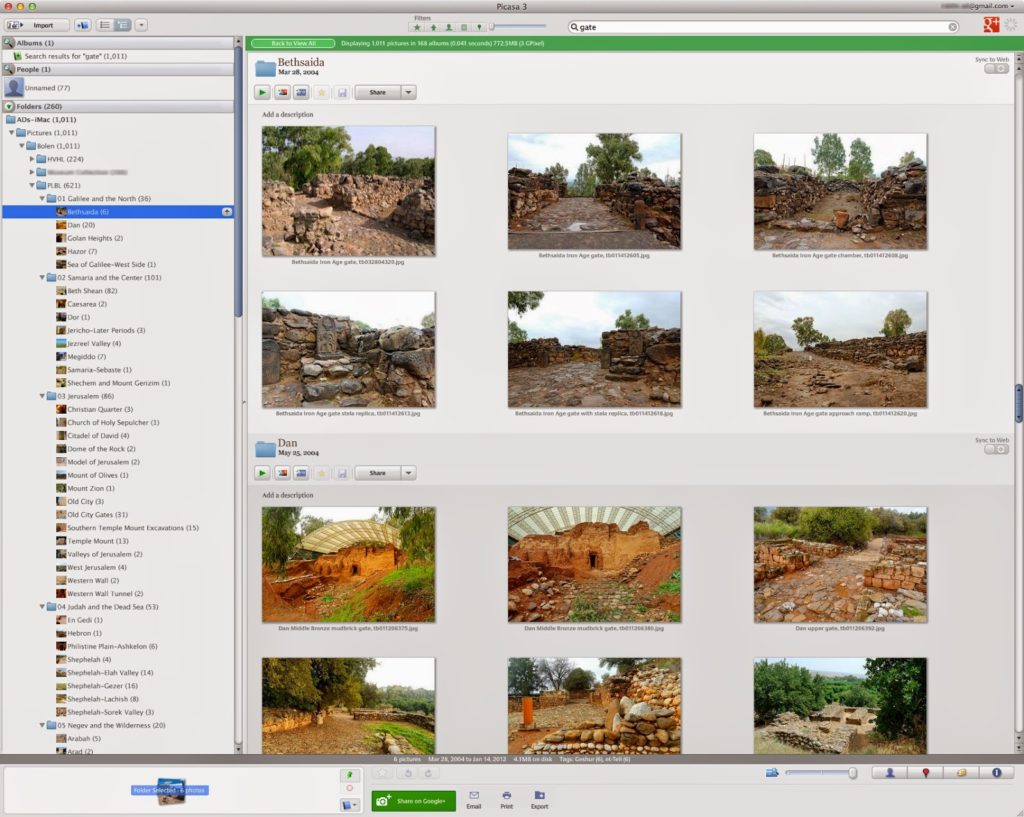
Here are the search results for “gate.” You can see on the left side which volumes and folders have images of gates, and in the main window, you can scroll through the thumbnails.
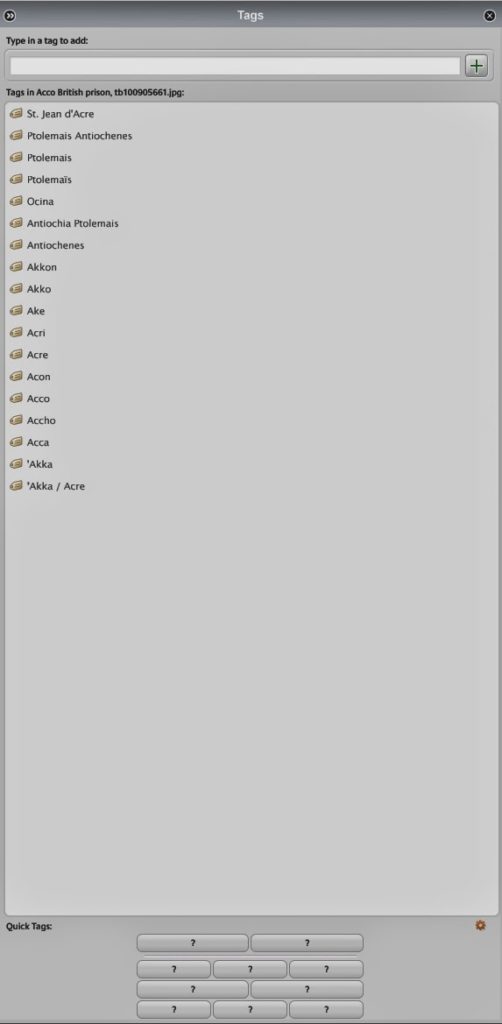
We will discuss one other feature of Picasa in this post. When you search for a name or term in Picasa, the program is not only looking at filenames and folder names, but also “tags.” In a previous post about the Pictorial Library‘s Site Index, we highlighted that index’s usefulness because it allows you to find alternate names for a site that might not have been used in the image filename. The example we used was Ptolemais (Acts 21:7), which does not appear in the image filenames (Acco does instead). Well, all of the names from the Site Index have been added to the photographs as tags, so that in Picasa, you can perform a search for Ptolemais (or Akko or Acre or any of the other names or spellings) and all the photographs of Acco will appear. This makes it quick and easy to find places, even if you are using a different name or spelling!
In the lower right corner there is a row of four buttons that looks like this:
The third button has a cream-colored “shipping tag” icon. Clicking on it will reveal all the tags that have been added to a photograph. The Acco photographs have been given the following tags:
Of course, Picasa is not the only program that can be used to browse and search the Pictorial Library.
Other such programs include Adobe Photoshop Lightroom, iPhoto (for Mac), and ACDSee Pro, as well as perhaps some lesser-known ones such as ShotWell, XnView, FastStone Image Viewer. And there are others.
In a future post, we will highlight two more features of Picasa that make it such an excellent tool for use with the Pictorial Library of Bible Lands. Of course, there is so much more that can be done with Picasa, but we leave that for you to explore and discover.
[Click here for Part 2]


One thought on “Using PLBL with Picasa (Part 1)”
A.D. – excellent post. And I would affirm all of what you have said. Though I primarily use Lightroom now, the free Picasa served me well for many years.
But there's one major disadvantage to using Picasa, and given the extreme ease of using Picasa, I would want to stress this: you miss out on all the features of the PowerPoints. The maps you created, for instance, are only in the PowerPoint files. The labels are only in the PowerPoint files. And one of the most important, in my opinion, is the photo organization.
You know this all very well, and you don't intend to ignore it, but I'd like to get it in here for anyone brave enough to read the comments. My personal approach and what I recommend to others: use both Picasa and the PowerPoint files, depending upon the need. Sometimes I need Picasa to help me find the photo, and then I open the PowerPoint file and go from there.